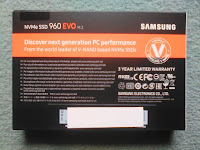
Eine interessante Möglichkeit den Speicher des "Legion" zu erweitern, wäre die je nach Modell eingebaute NVMe-SSD auszutauschen. Bevorzugt benutzt man eine SAMSUNG, da kompatibel. Bei anderen Marken ist u.U. durch die evtl. vorhandene "Whitelist" die Funktionsfähigkeit nicht gewöhrleistet. Grundsätzlich dürfte aber auch hier bei einem Kauf bei Amazon kein Problem bei Rückabwicklung sein. Das soll natürlich nicht heissen, das bei MM oder anderen keine ähnliche Kulanz vorhanden ist, einfach nur meine gemachte Erfahrung.
Lieferung:
Ware wurde im Amazon Kartonumschlag geliefert. Preis z.Zt. € 227,xx (Sept 2017).
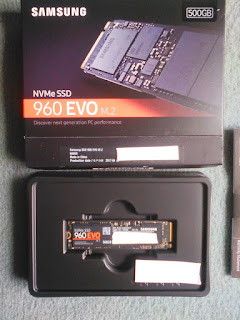
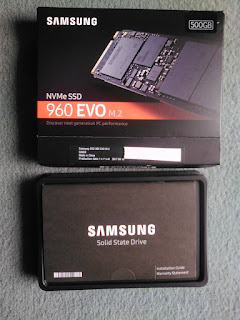
Inhalt:


Nicht viel Inhalt oder Gewicht: Die Samsung NVMe-SSD


Teil 2
Hinweis:
In diesem Post werden u.a. folgende Seiten verlinkt:
amazon (de), dragonfly (en), linuxmint.com (en), wikipedia (de)

https://forums.linuxmint.com/viewtopic.php?t=241681
AntwortenLöschenInstallationsroutine für die NVMe SSD:
AntwortenLöschenThese are the steps I did to clean install Windows 10 on the MVNe that came with the laptop and the BIOS configured as SATA Controller IRS Premium.
For you and other people who might have the same issue:
First of all I did not have do open the laptop or disconnect any hard drive.
1. Start up the laptop and get into the BIOS.
2. Load default settings (note this will load the default option for SATA Controller as Intel RST Premium).
3. Change the option to boot from the USB as primary option. It seems to show on the list only if a valid .iso (in this case Windows 10) is connected.
4. Save changes and restart he laptop.
5. The BIOS should start the Windows 10 Installer.
6. Click on Install and then on custom.
7. When the option to choose where to install appear there should be a list with the partitions and drives available. The hard drive will be on the list but not the NVMe. In this window I deleted all partitions on the hard drive and left as unallocated space the entire drive.
8. For this step I needed a second laptop and a SDcard. I went to the Lenovo Support site and downloaded the latest version of the Intel Rapid Storage Technology Driver for Windows 10 in the Storage submenu. Using this secondary laptop I installed this driver choosing the location to the SDcard.
9. I went back to the Y520, connected the SDcard and clicked on the option load driver on the Windows Installer. I navigated to the subfolder into the SD called “Source” leaving checked the box “only compatible driver”.
10. After a minute or so (a bit long for such a small file) the loading window closed and the NVMe appeared on the list of the Windows Installer below to the hard drive. As I did with the hard drive I did the same to the NVMe and deleted all partitions leaving the entire drive as unallocated space, then selected and clicked next.
11. Windows should start installing on the NVMe with the default BIOS settings as SATA Controller Intel RST premium.
12. After finishing the installation I went to the Windows Disk Management and formatted the Hard Drive so that I could use it.
Übersetzung? Wer wagt?
Mitforengäste: In der neuen ct Heft 20 2017 Seite 74pp (Download Windows Protec'tor: ct.de/yt8z) gibt es einen Artikel, wie man/frau sein/ihr Windows 10 gegen "Schädlinge" abhärten kann.
AntwortenLöschenVielleicht besteht ja Interesse :)
Hier gibt es einen lesenswerten Review (leider Englisch)vom Lenovo Y520
AntwortenLöschenhttps://forums.lenovo.com/t5/Community-Spotlight/The-Legion-Y520-Budget-Gaming-Is-Feasible-Again/ba-p/3769661
Zubehör (Kopfhörer) für den Gamer
AntwortenLöschenhttps://www3.lenovo.com/ca/en/accessories-and-monitors/audio/headsets/AUDIO-BO-Lenovo-Y-Stereo-Headset-NA/p/GXD0L03745